
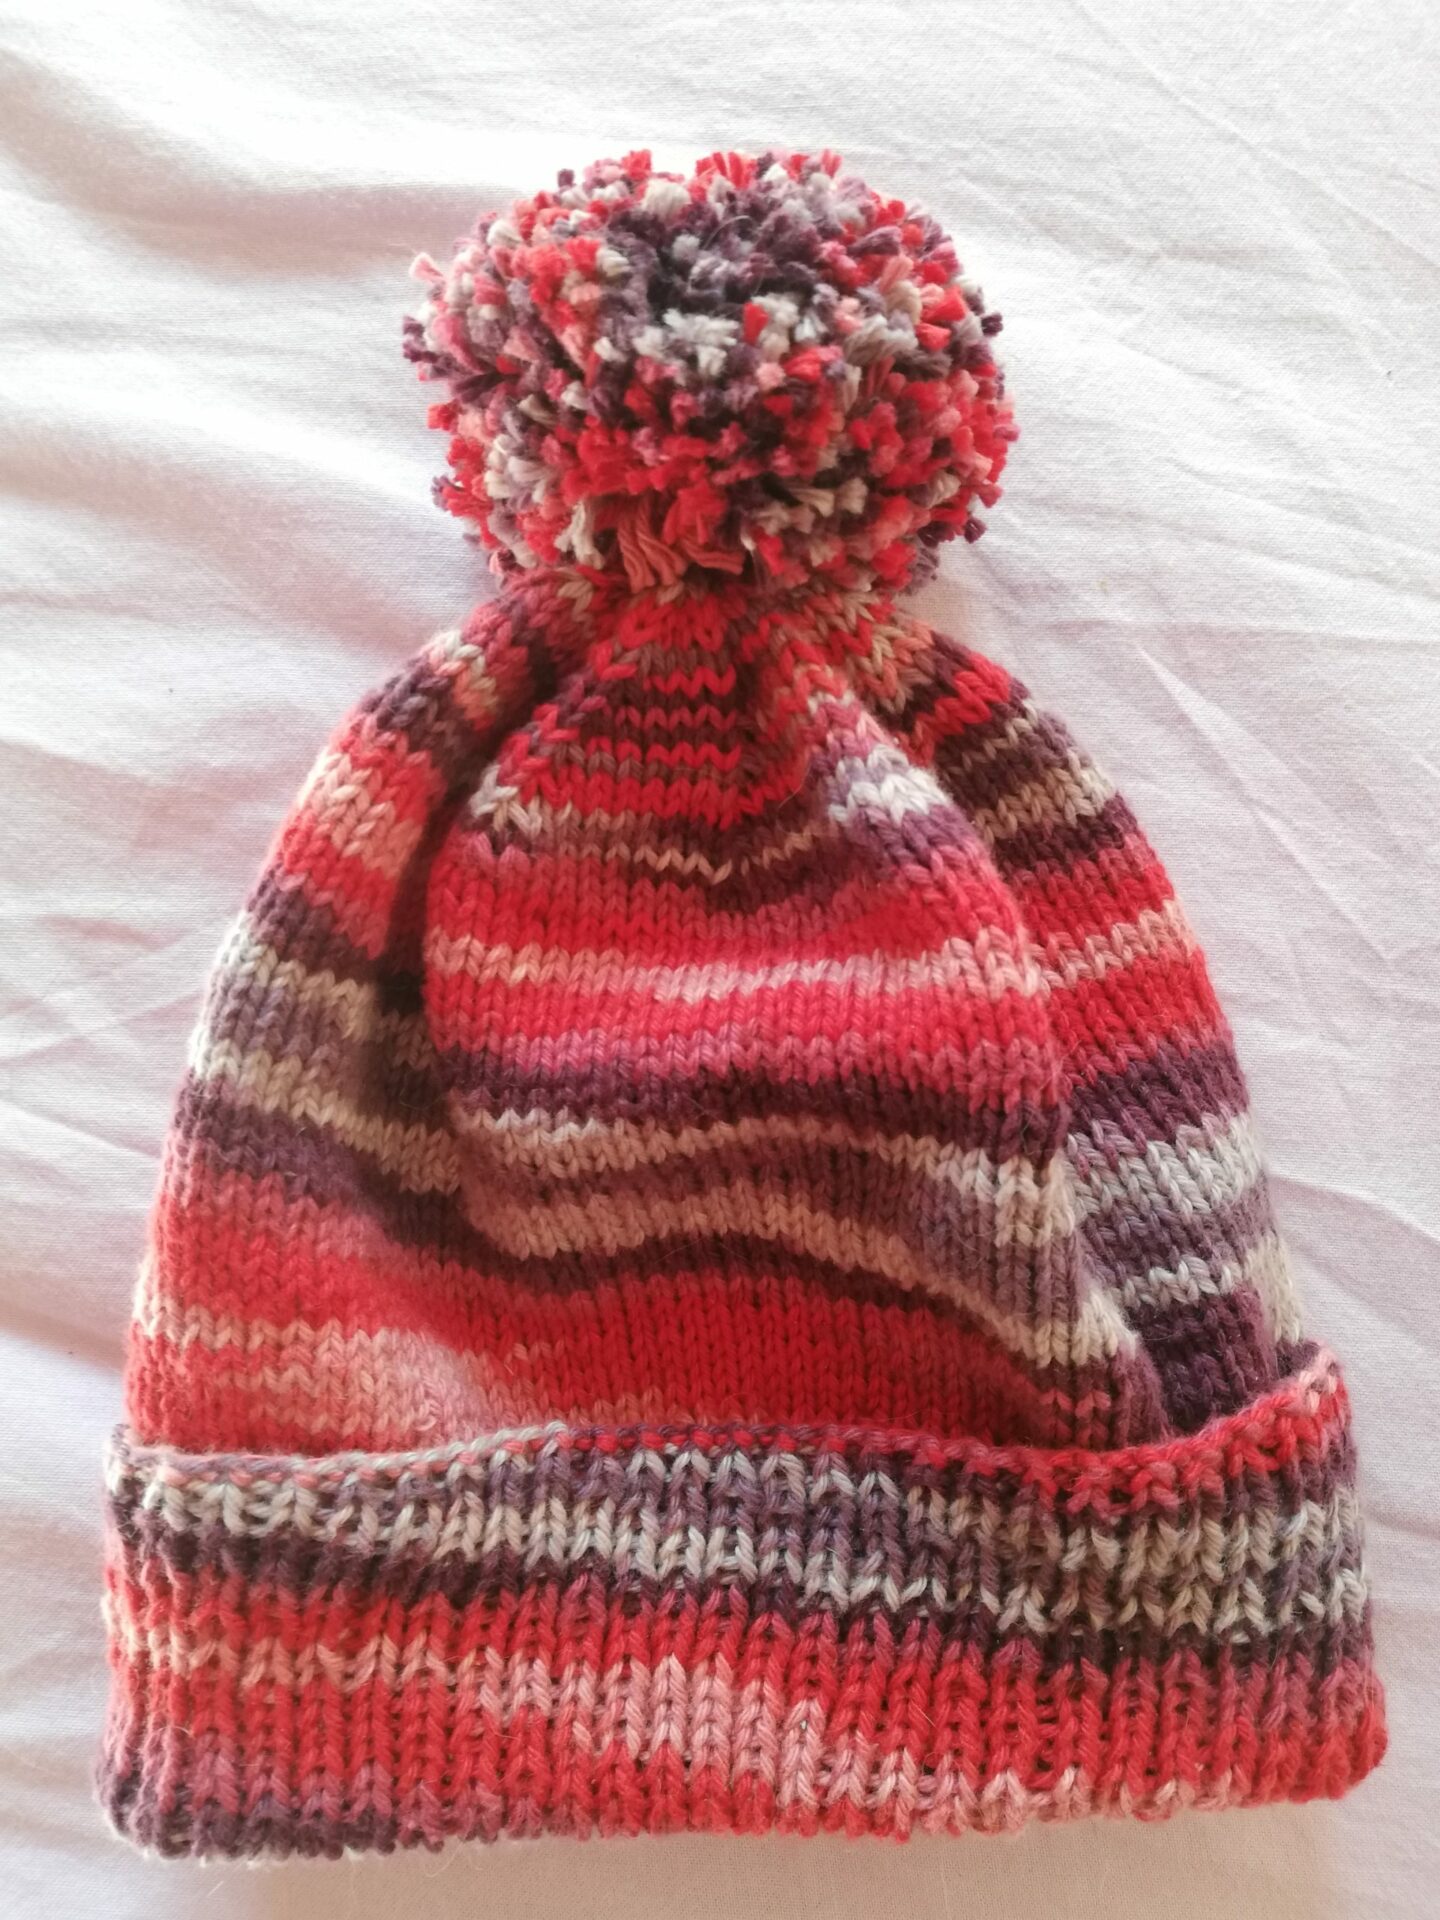
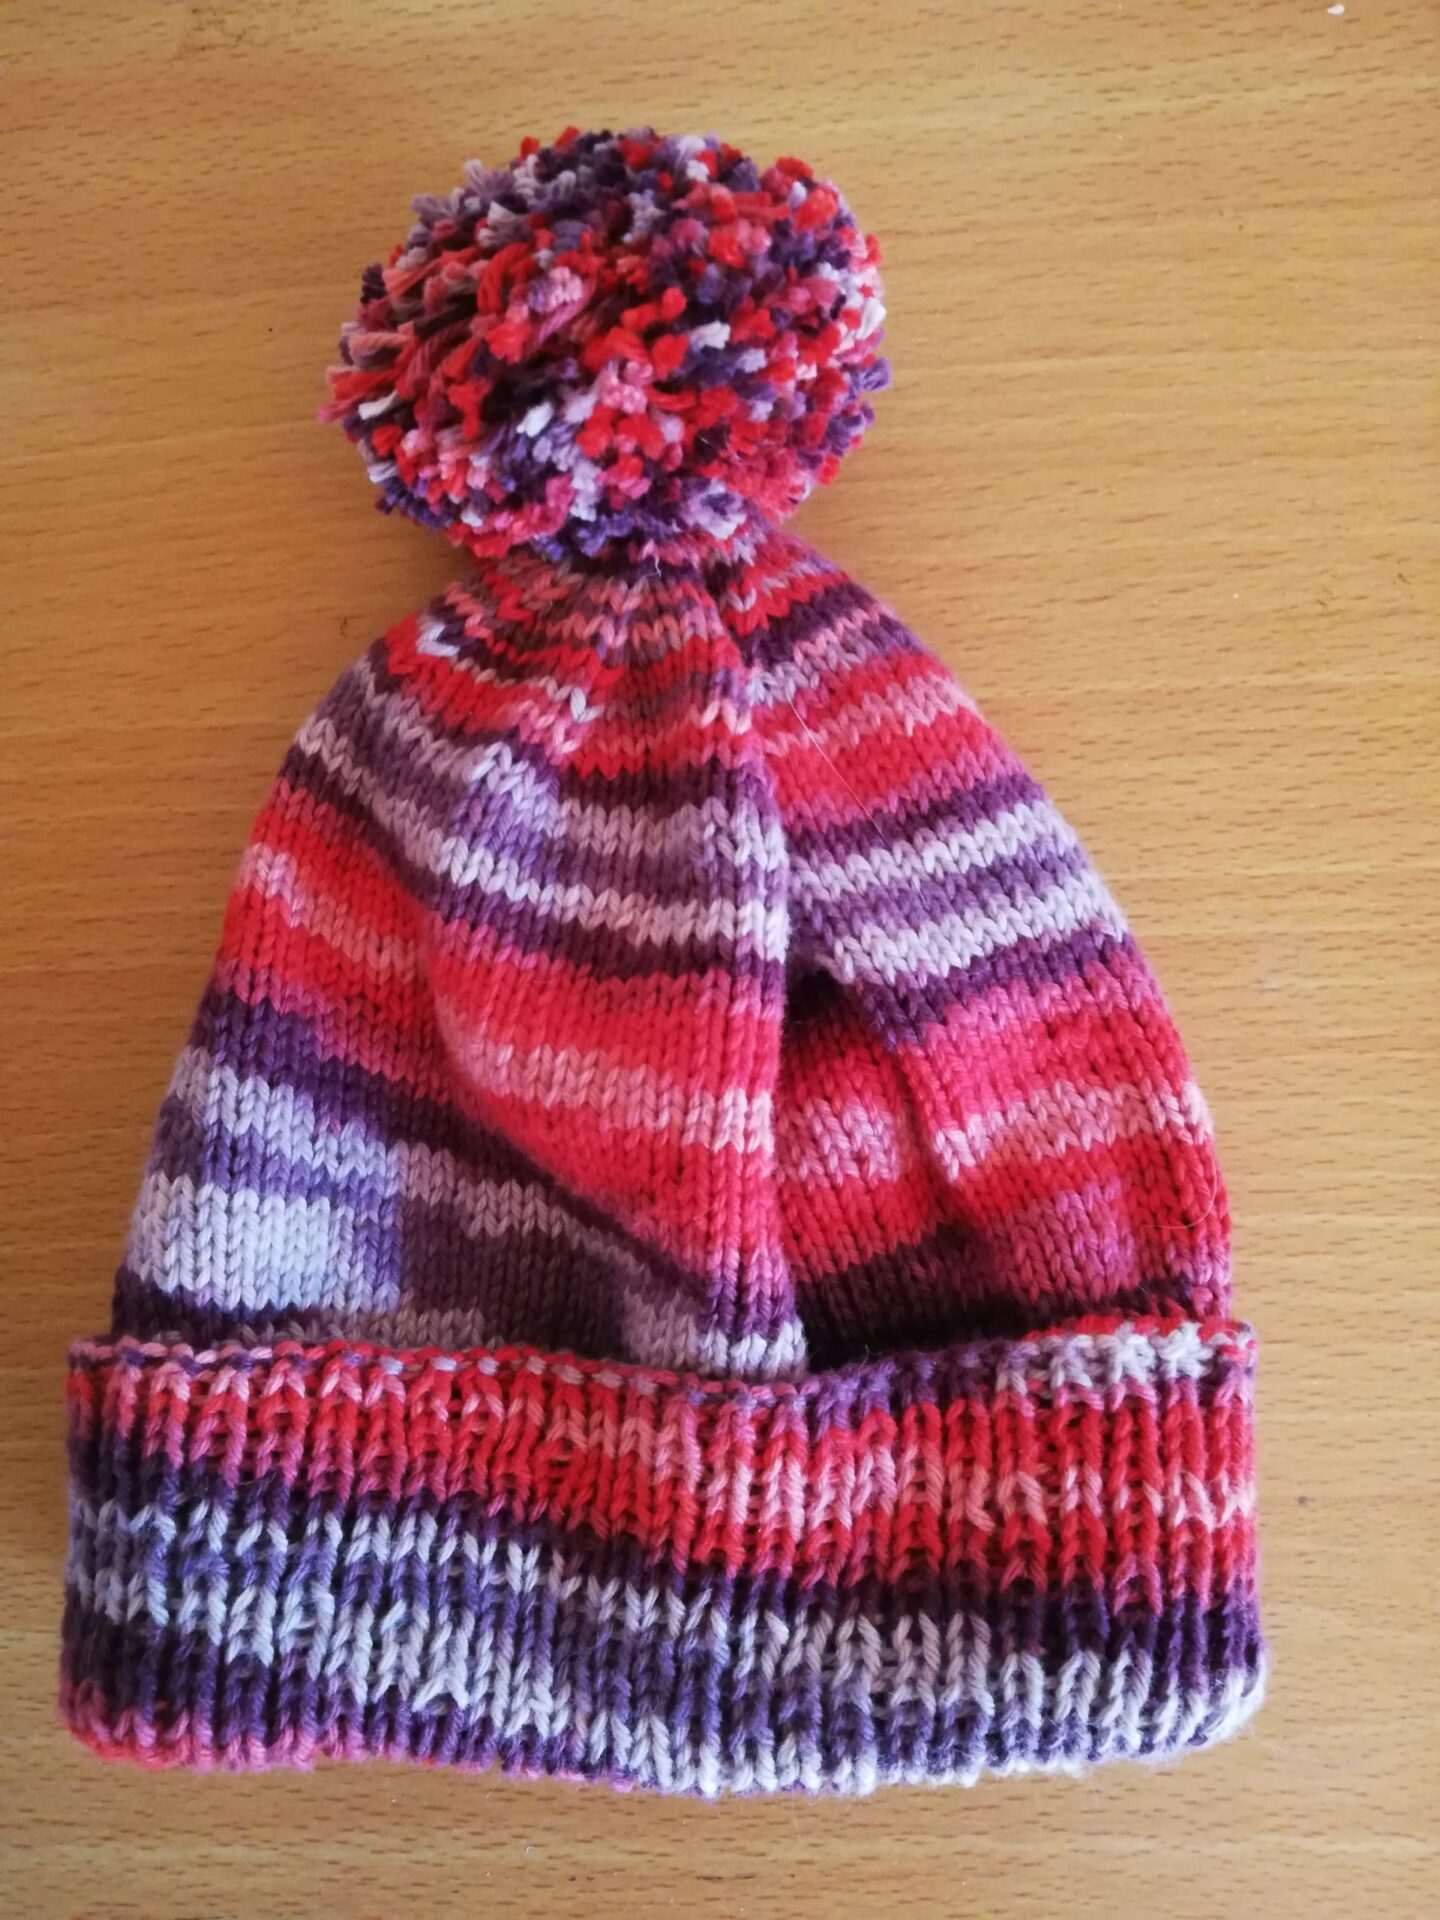
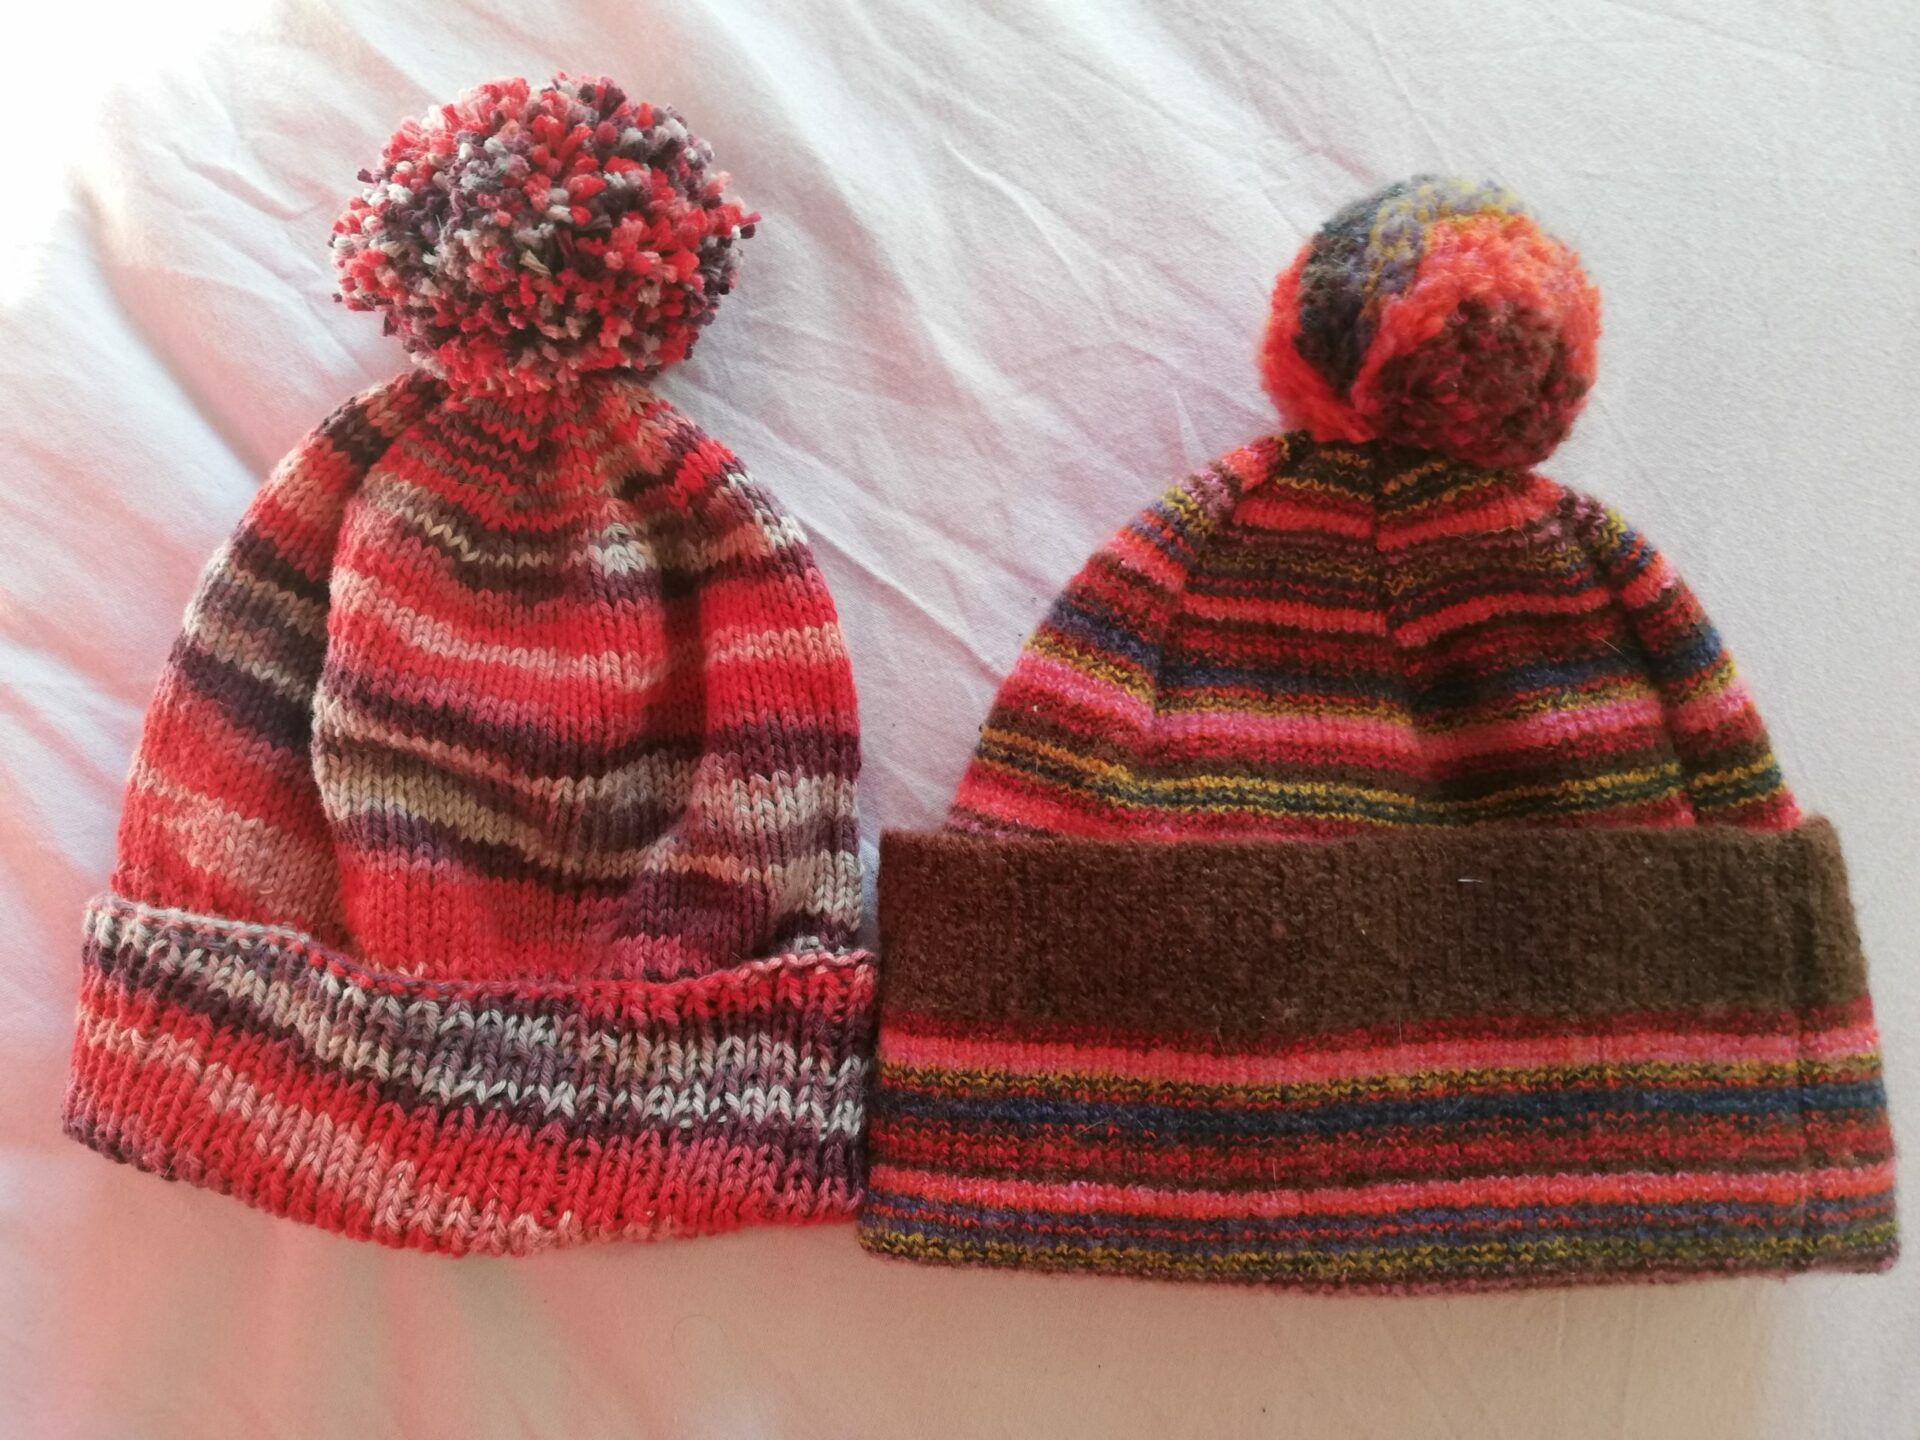
Free pattern : Classic Baby Hat
It’s my first time designing a pattern so please be indulgent and give me any advice you think necessary! I made it because I couldn’t find what I was looking for : a classic hat for babies (not newborn) with a sock yarn. Also, English is not my first language, so please forgive the eventual language mistakes in this pattern.
Also if you knit this, I would be happy to see the results! You can add your project on Ravelry here.
The finished hat is about 17-18cm (7″) high (without the pompom) and 35cm (14″) in circumference.

You will need:
- 1 skein of fingering/sock yarn (2,5-3mm). I used the 100% cotton 8/4 from Sostrene Grene, colour Combi 5 – Red.
- For the ribbing: 2,75mm circular needles, with a cable long enough for magic loop (or double pointed needles).
- For the body: 3mm circular needles, with a cable long enough for magic loop (or double pointed needles).
- A stitch marker for the beginning of round (a paper clip, some scrap yarn, or a small rubber band would also be perfect for this)
- A tapestry needle
- A computer or a TV for the long knitting hours (I used these 9-10 hours to watch The Witcher).
Cast on 110 stitches with the 2,75mm needles, place the beginning of round marker and join to work in round.
Ribbing : Work in 1/1 ribbing for 10cm (4″) (K1, P1 to the end of round)
Body : With the 3mm needles, work in stockinette for 9cm (3,5″) (only knitting!). The hat should now be about 19cm (7,5) high from the cast on.
Decrease:
- *K8, K2tog* until the end of round
- Knit all the stitches
- *K7, K2tog*
- Knit
- *K6, K2tog*
- Knit
- *K5, K2tog*
- Knit
- *K4, K2tog*
- Knit
- *K3, K2tog*
- Knit
- *K2, K2tog*
- Knit
- *K1, K2tog*
- *K2tog*
Almost done! Cut the yarn leaving a tail (about 20cm/8″).
With the tapestry needle, bring the tail through the remaining stitches and pull. Make a little knot o secure and weave all the remaining ends.
Make a pompon with the rest of the yarn or with a contrasting colour.
That’s it! Le hat is finished! The advantage of this pattern is that you can adjust th size as you wish, as long a you use a multiple of 10 stitches. Just remember to adjust the height as well.
I hope this pattern will be ok for you. I haven’t given it yet to the parents of the baby, so I am still not sure if it fits right for her.
Please give me your own feedback!
If you want to support me for the free pattern, you can make a tiny contribution here:

Cet article original est publié sur https://bingetricot.com/
Toute reproduction, même partielle, est interdite sans l'autorisation de la rédactrice.
Un commentaire
Ping :