
The Ruisseau headband, easy pattern for a knitted cable headband (free)

Hello ! Winter is coming and so is the cold. And since it’s been a long time, I finally offer you something you’ve been waiting for: a new free pattern! So here is the Ruisseau headband. It’s a knitted cable headband pattern, as always very simple to knit. Read on to find out how to make this new headband!
If you are a little afraid of cables and are looking for something more accessible to beginners, I invite you to look at my Epicea headband free pattern. It is super easy!
Do you want more patterns like this one? Fill in this quick survey to help me find out what you would like!
History of the pattern
This year, I wanted to knit cables, and especially to demystify this technique. The result looks complicated, but in fact it’s really very simple, you’ll see!
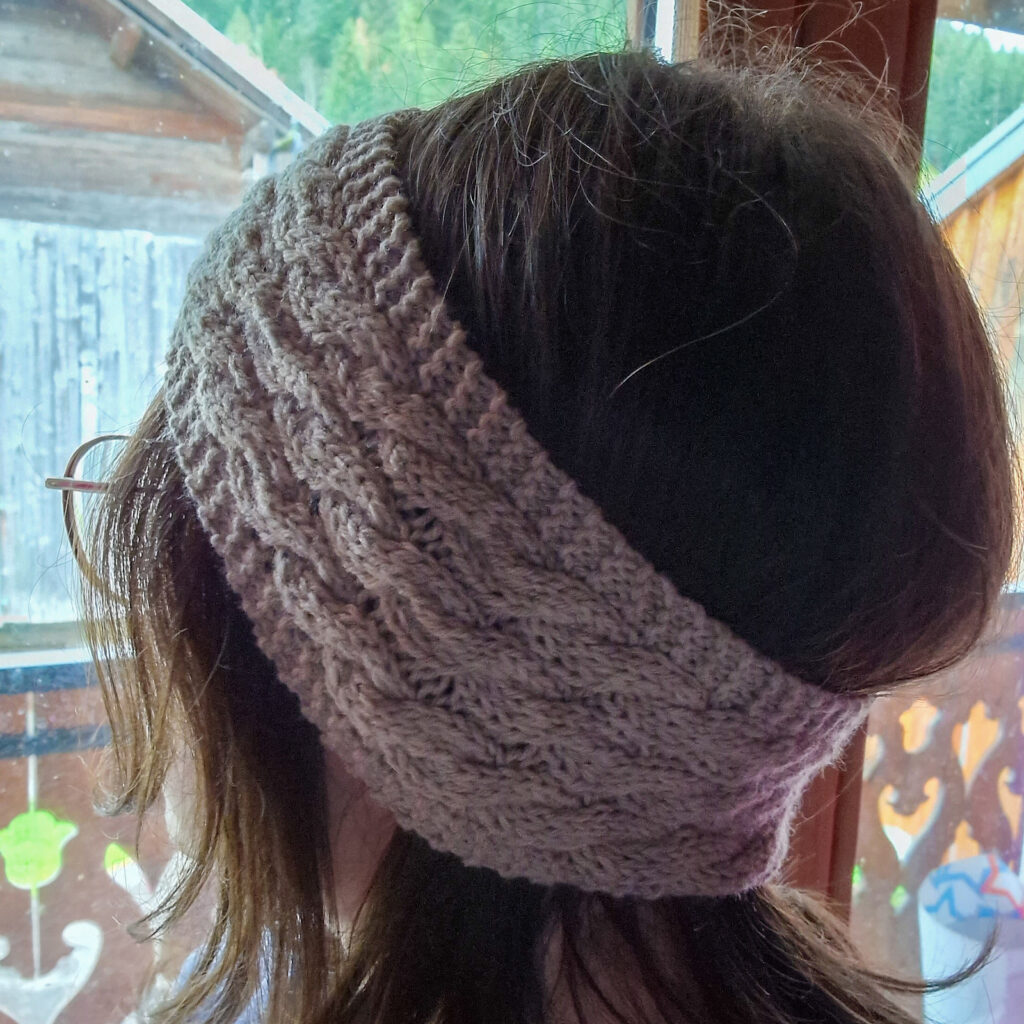
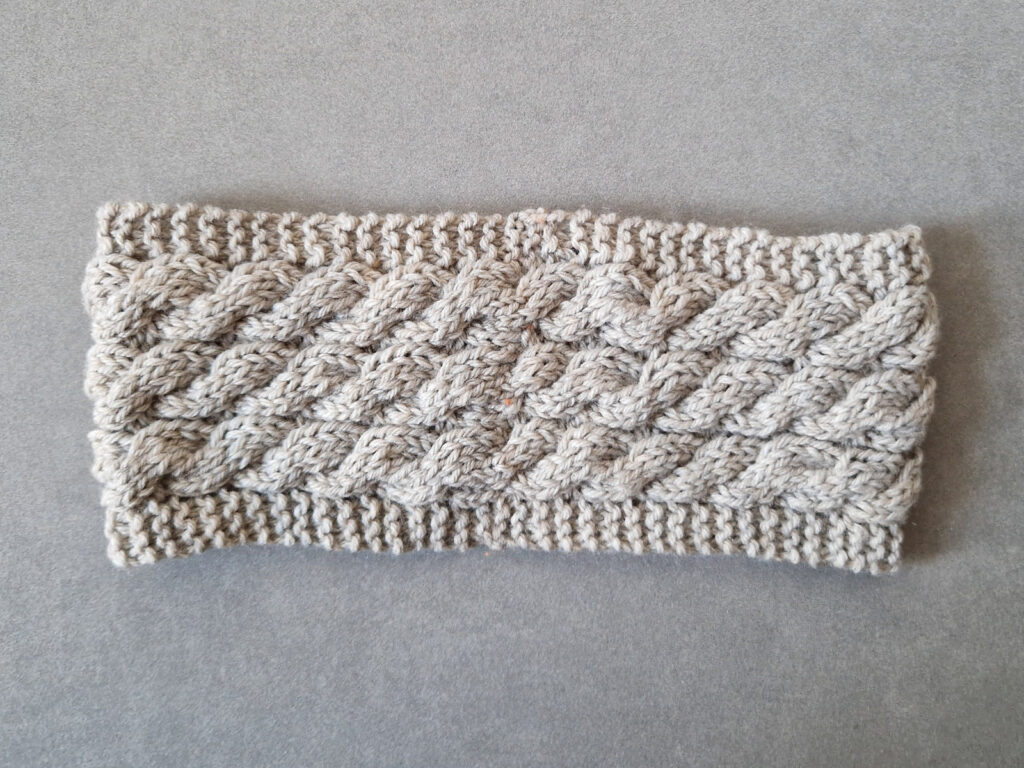
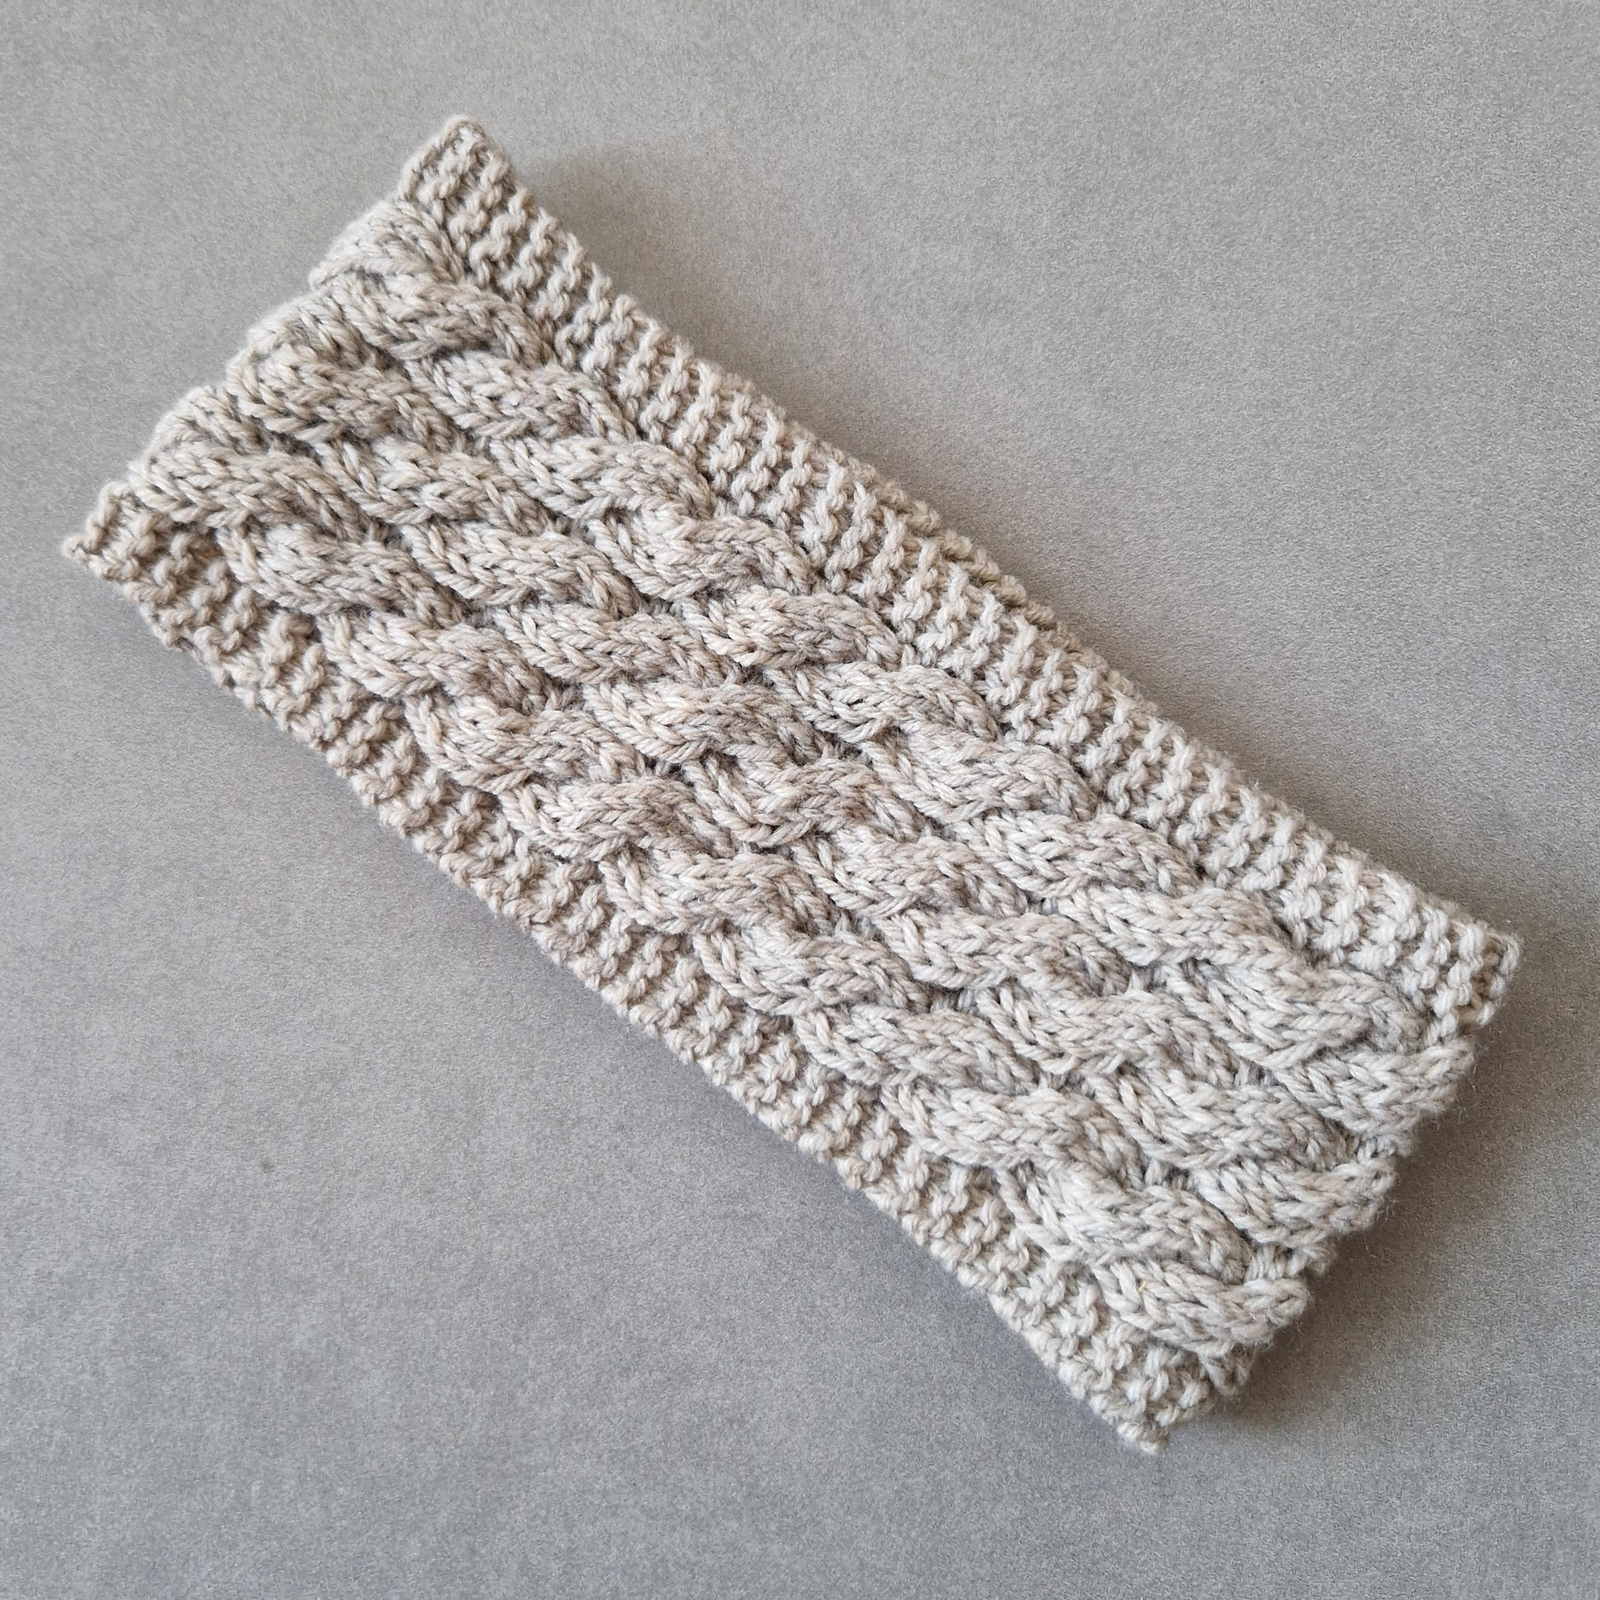
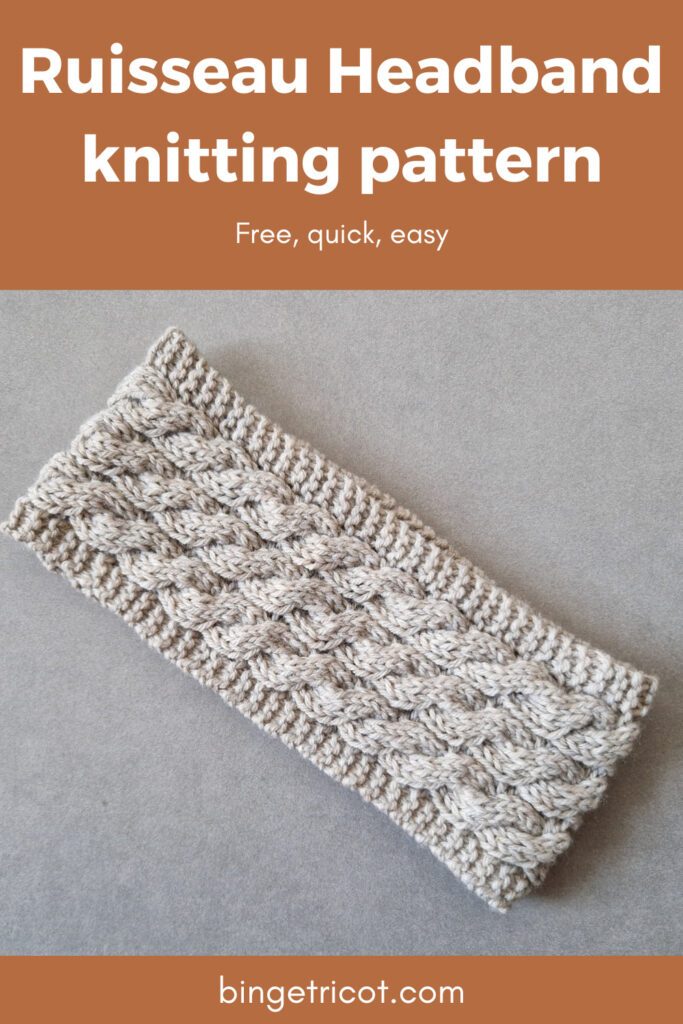
I chose to make a simple cable headband pattern. Three bands of twists along the length of the headband, on a reverse stockinette background and with moss stitch edges.
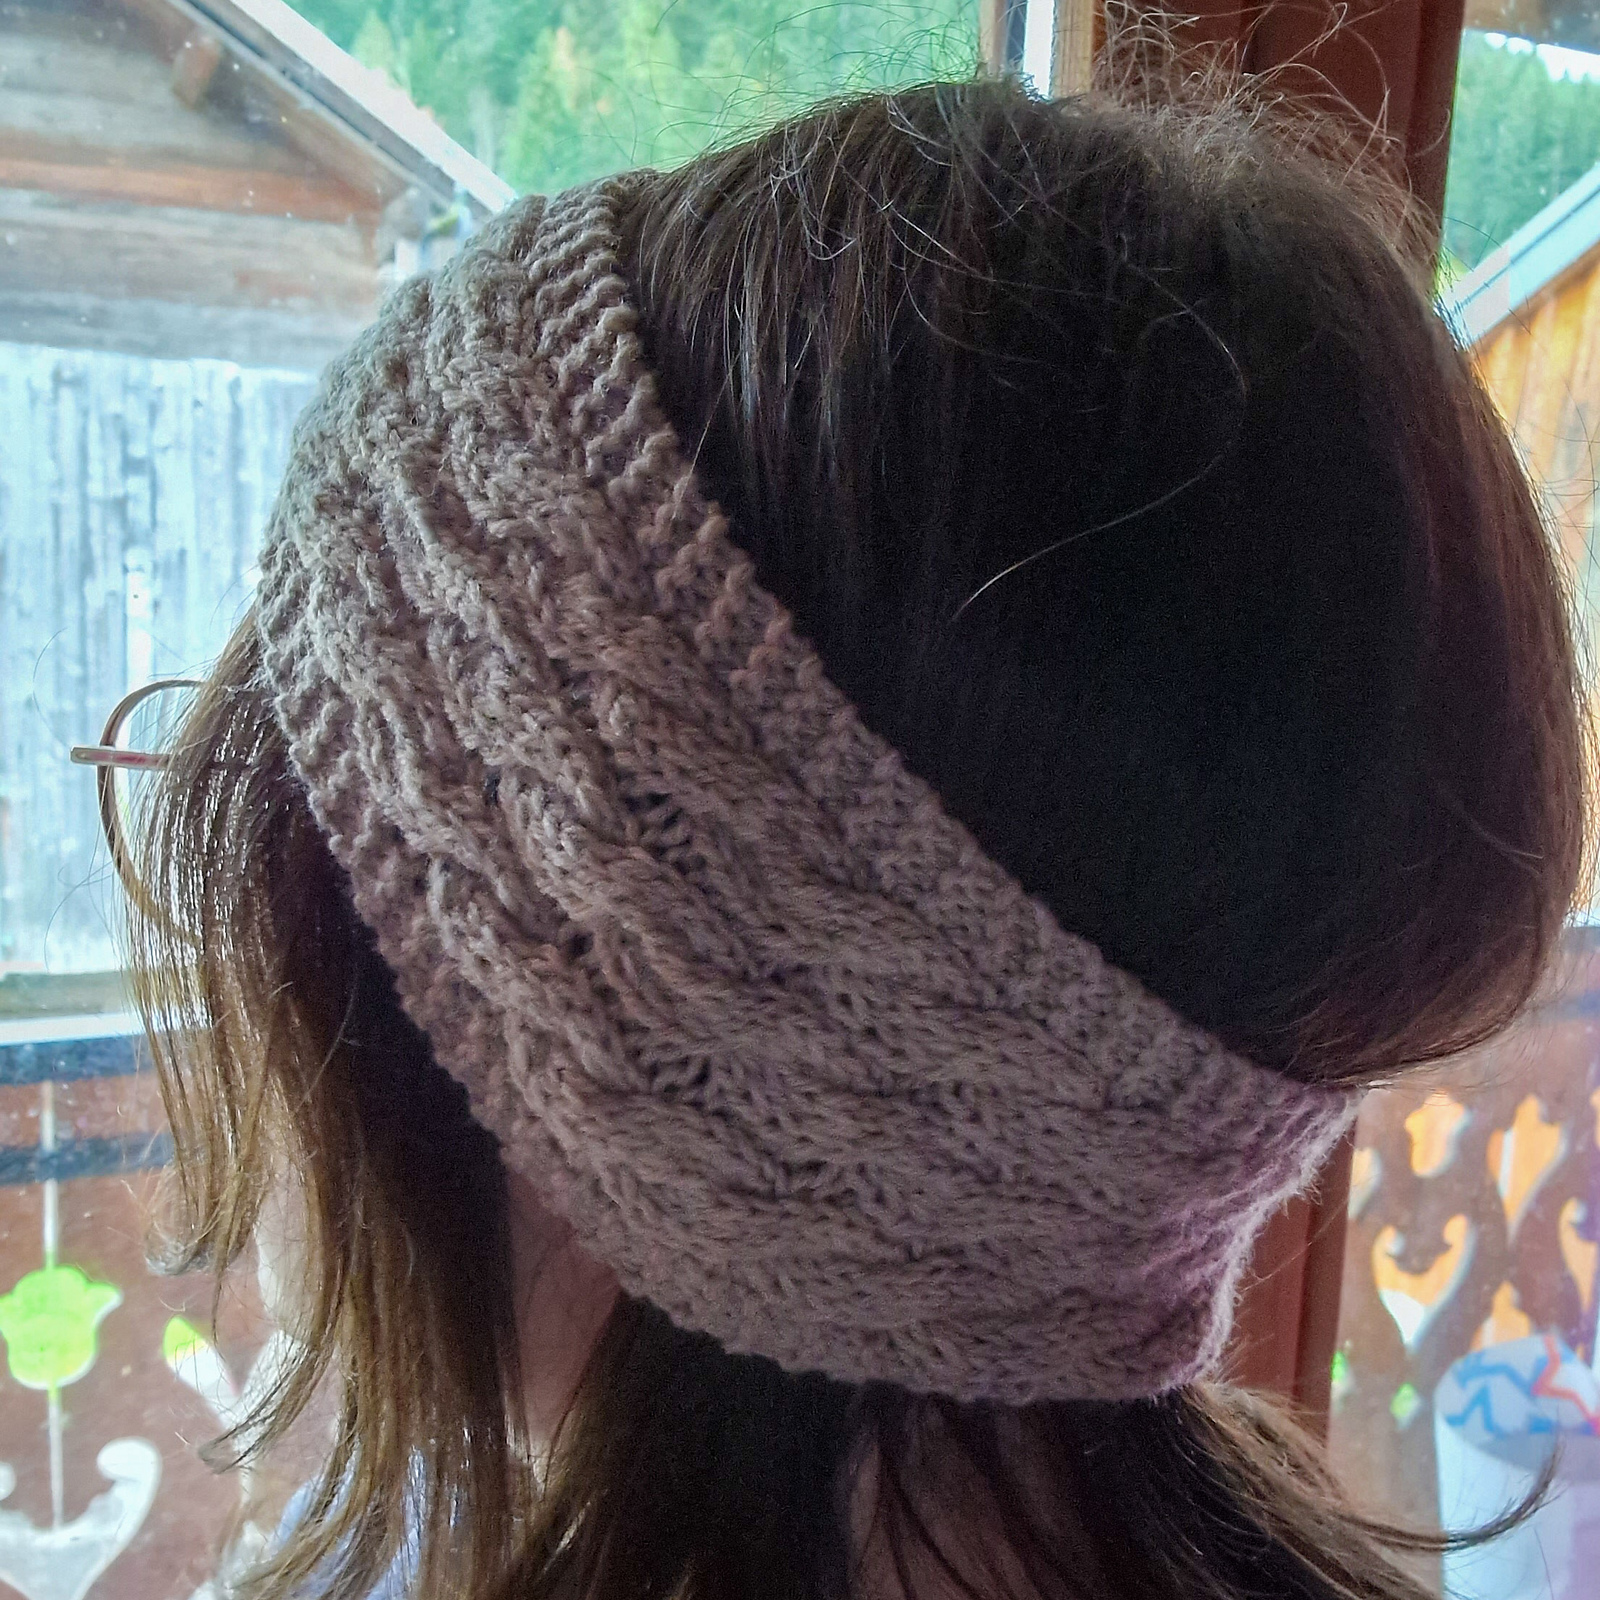
The name of the model, with its three slightly twirling lines, was inspired by the nature around me in the Alps. Hence the name of the headband Ruisseau. A ruisseau (French) is a small, fine stream. It carries all the lightness and dynamism of this twisted headband.
The yarn
For this headband I used less than one ball of Rico Design’s Baby Classic DK. It is a 50% Acrylic and 50% Polyamide yarn, made for sensitive baby skin and ultra soft.
Material
- 1 ball (50g) of Baby Classic DK by Rico Design (or equivalent DK yarn)
- 4mm knitting needles. Whichever you prefer, the headband is knitted in a back and forth pattern. I personally opted for circular needles.
- A cable needle
- A tapestry needle
For the provisional cast on (optional)
- 1 crochet hook
- About 40cm of contrasting colour yarn
The finished headband is about 45 cm (17.5″) long and 10.5 cm (about 4″) wide.
Cast on methods
For this pattern, you can use two different cast-on methods : long tail cast on or provisional cast on.
The long-tail cast on is easier, but you will have to sew the ends of the headband together. Here is a quick video tutorial showing the Long Tail Cast On.
The provisional is harder, but you will be able to use the Kitchener’s stitch to join the ends of the headband. I recommend Purl Soho’s One-step method.
The pattern
Cast on 28 stitches with the cast on method of your choice.
Row 1 : k3, p1, k6, p1, k6, p1, k6, p1, k3
Row 2 : k4, p6, k1, p6, k1, p6, k4
Row 3 : k3, p1, place 3 stitches on the cable needle leaving it in front of the work, knit the 3 following stitches, knit the 3 stitches on the cable needle, p1, place 3 stitches on the cable needle leaving it in front of the work, knit the 3 following stitches, knit the 3 stitches on the cable needle, p1, place 3 stitches on the cable needle leaving it in front of the work, knit the 3 following stitches, knit the 3 stitches on the cable needle, p1, k3
Other videos are available on my Tik Tok and Instagram.
Row 4 : k4, p6, k1, p6, k1, p6, k4
Row 5 : k3, p1, k6, p1, k6, p1, k6, p1, k3
Row 6 : k4, p6, k1, p6, k1, p6, k4
Repeat these 6 rows 24 times, or until the headband is about 45cm long (or the desired length).
Then, to finish the headband, it will depend on your cast on choice.
- If you used a long-tail cast on: you can cast off, then sew the two ends of the headband together, and weave in the ends.
- If you used a provisional cast on : you can undo the cast on stitch by stitch and place the stitches on your other knitting needle. Then you can join the 2 sides with Kitchener’s stitch. And finally, weave in the ends.
Thank you for reading this pattern, I hope you like it! You can find my other free patterns on my Ravelry Page.
Don’t forget to share your projects on social media with : #ruisseauheadband and #bingetricot and #bandeauruisseau !
You can also add your projects on Ravelry here:
Do you want more patterns like this one? Fill in this quick survey to help me find out what you would like!

Cet article original est publié sur https://bingetricot.com/
Toute reproduction, même partielle, est interdite sans l'autorisation de la rédactrice.

